I go back and forth on whether I'm qualified to do tutorials. Sometimes I'm like,
No, Dee, you've barely been drawing for a full year. Wait until you actually have a real qualification to make tutorials. And then someone asks me something about how I draw, and I'm like
ALL THE TUTORIALS!!!
So I spent far too long this morning putting together this thing...
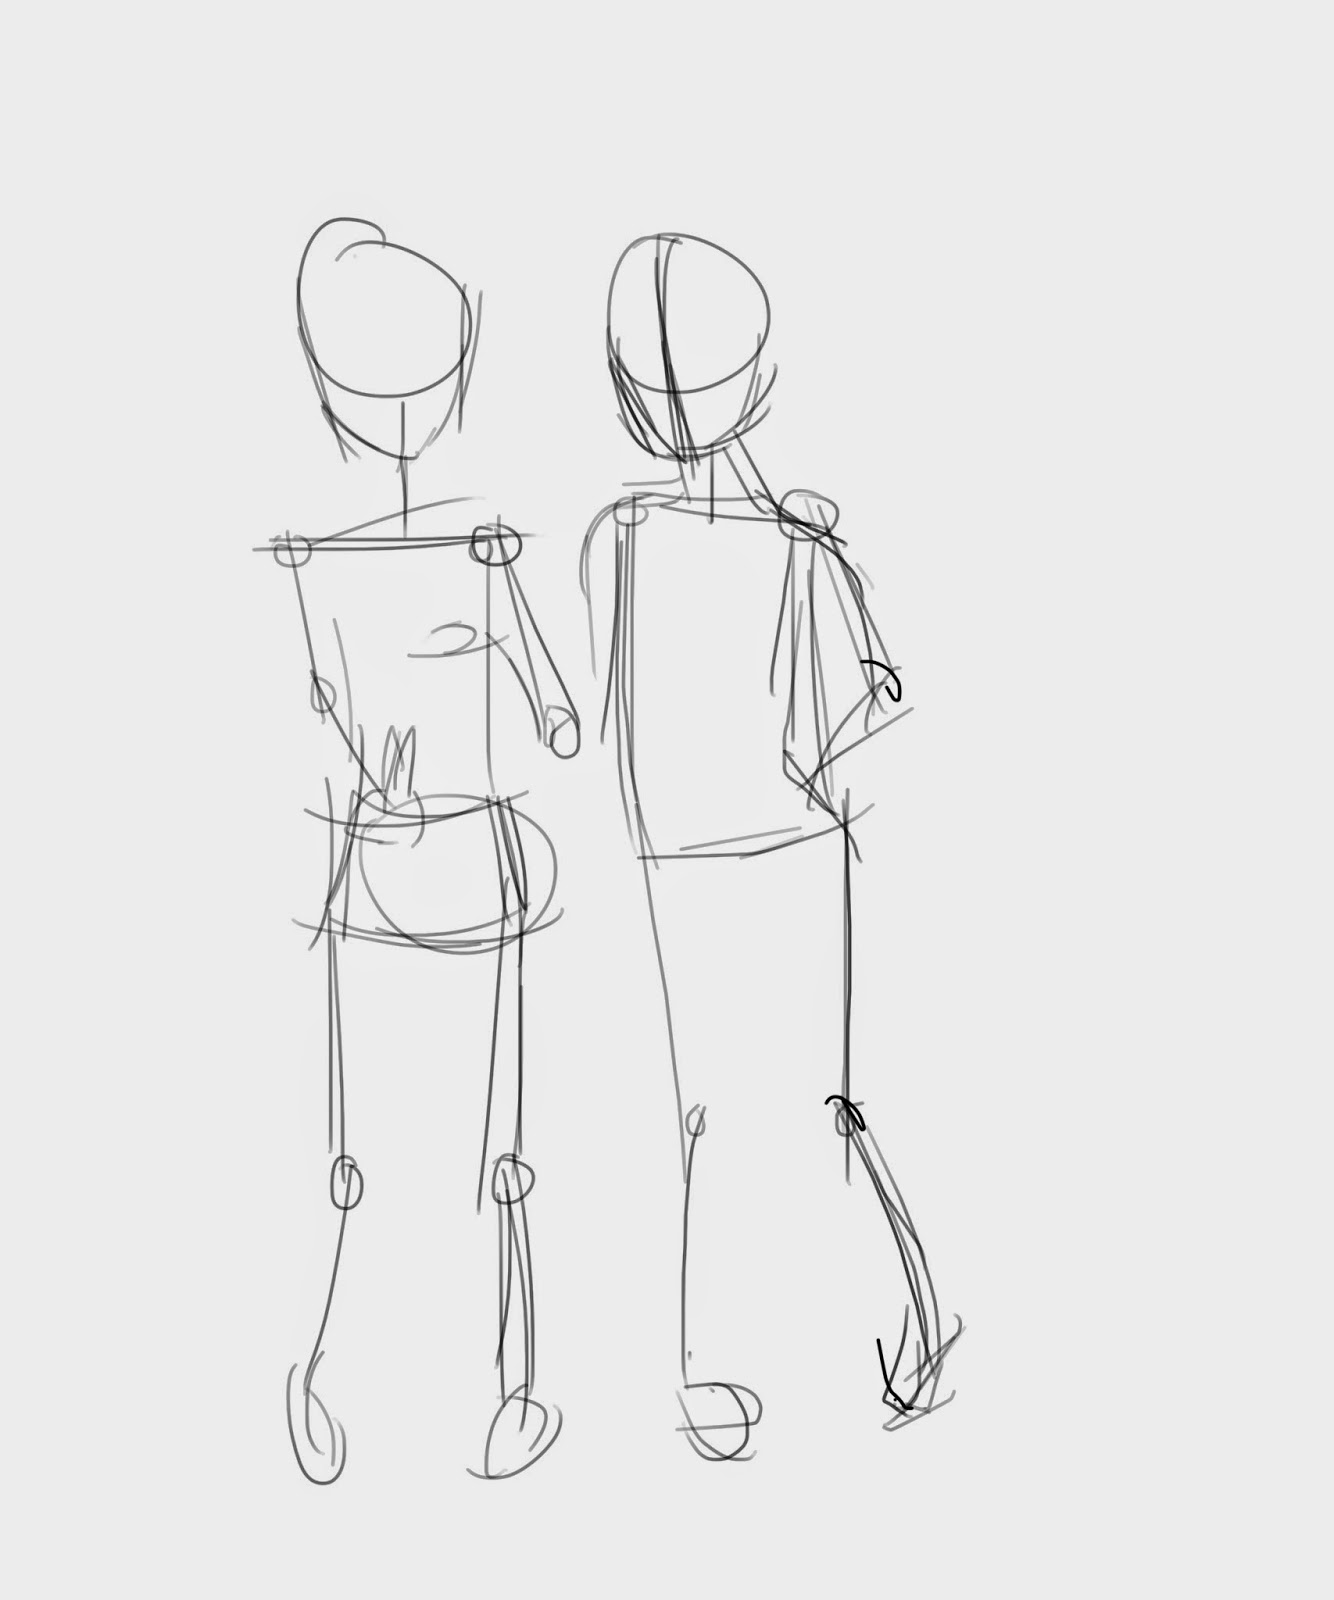 |
| Step one: Figure out your poses. This is just a very basic sketch, and you might even want to do it a few times with a few different poses, just to make sure this is the one you want to us. |
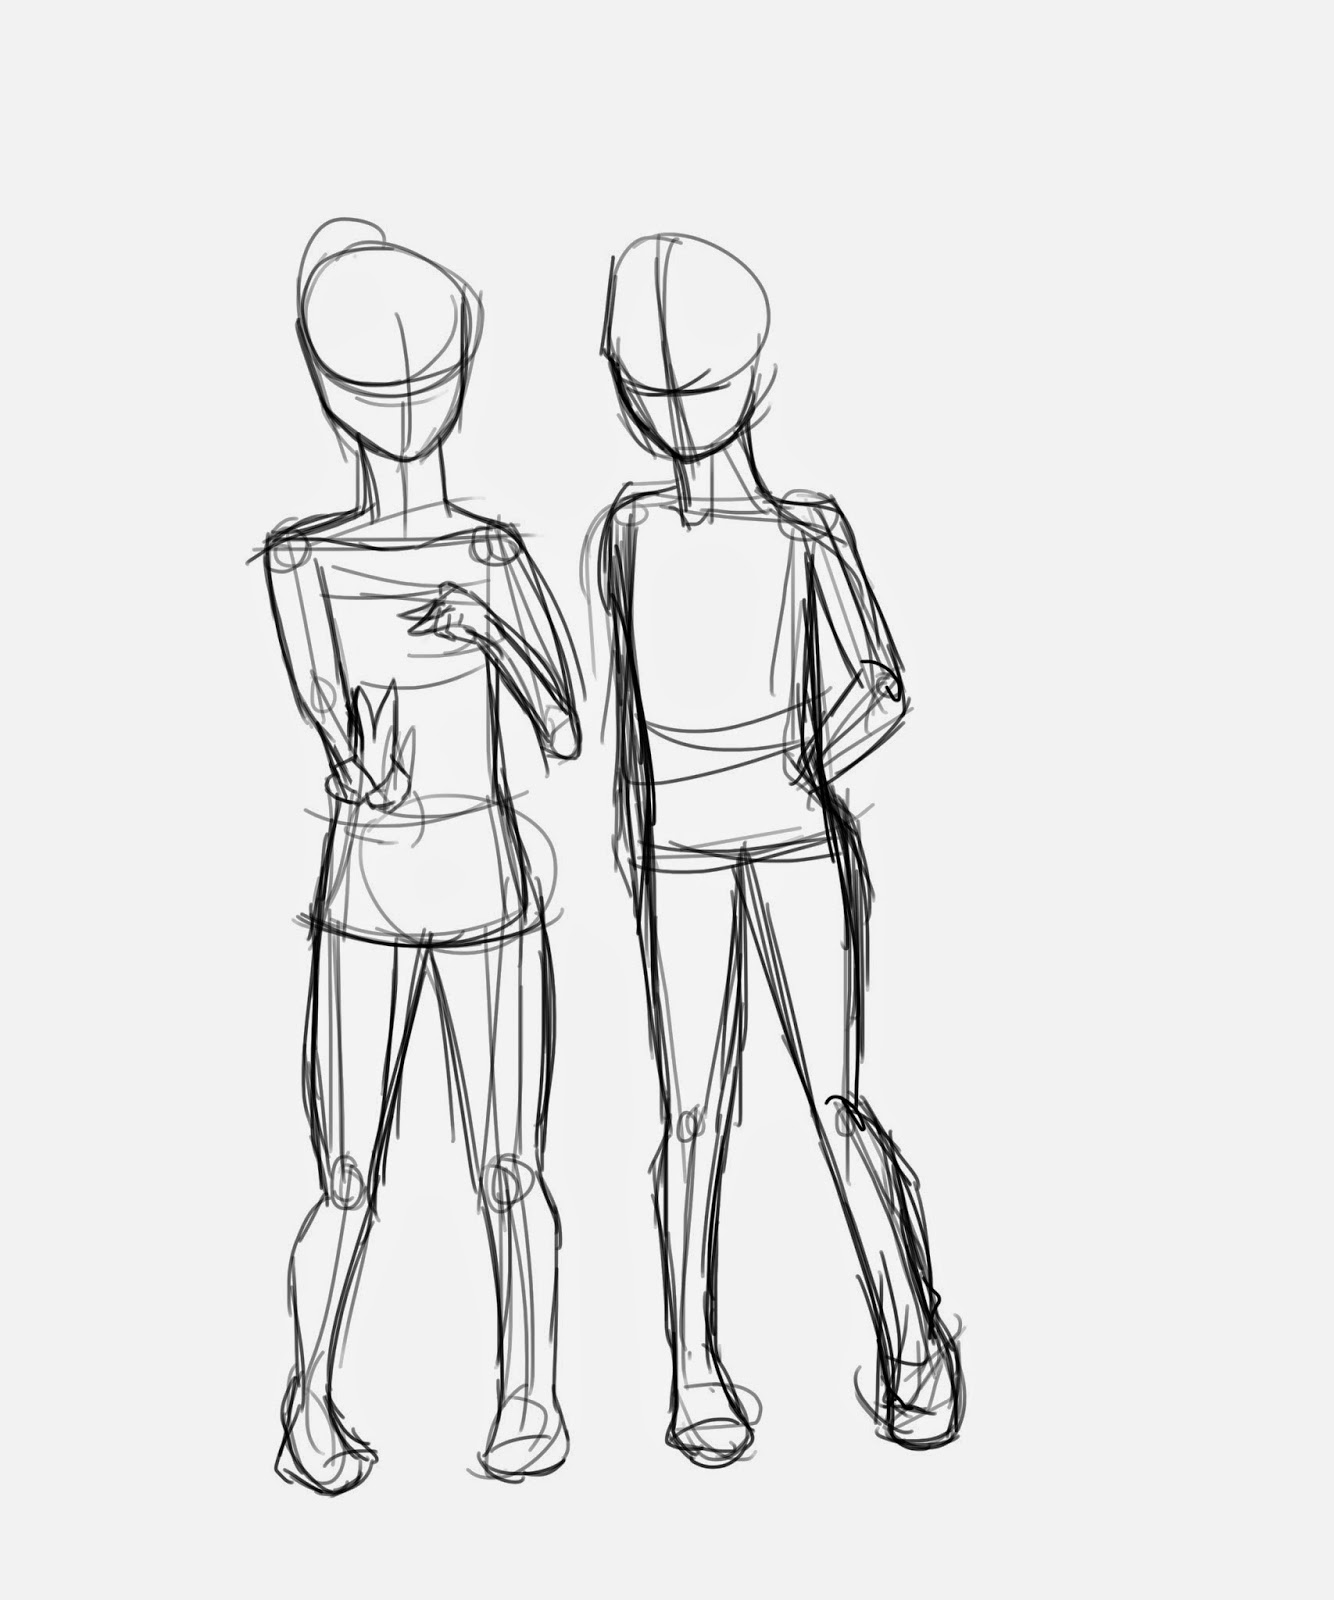 |
| Step two: Add the basic body shapes. Let it still be really sketchy, since this isn't going to be in your final drawing. |
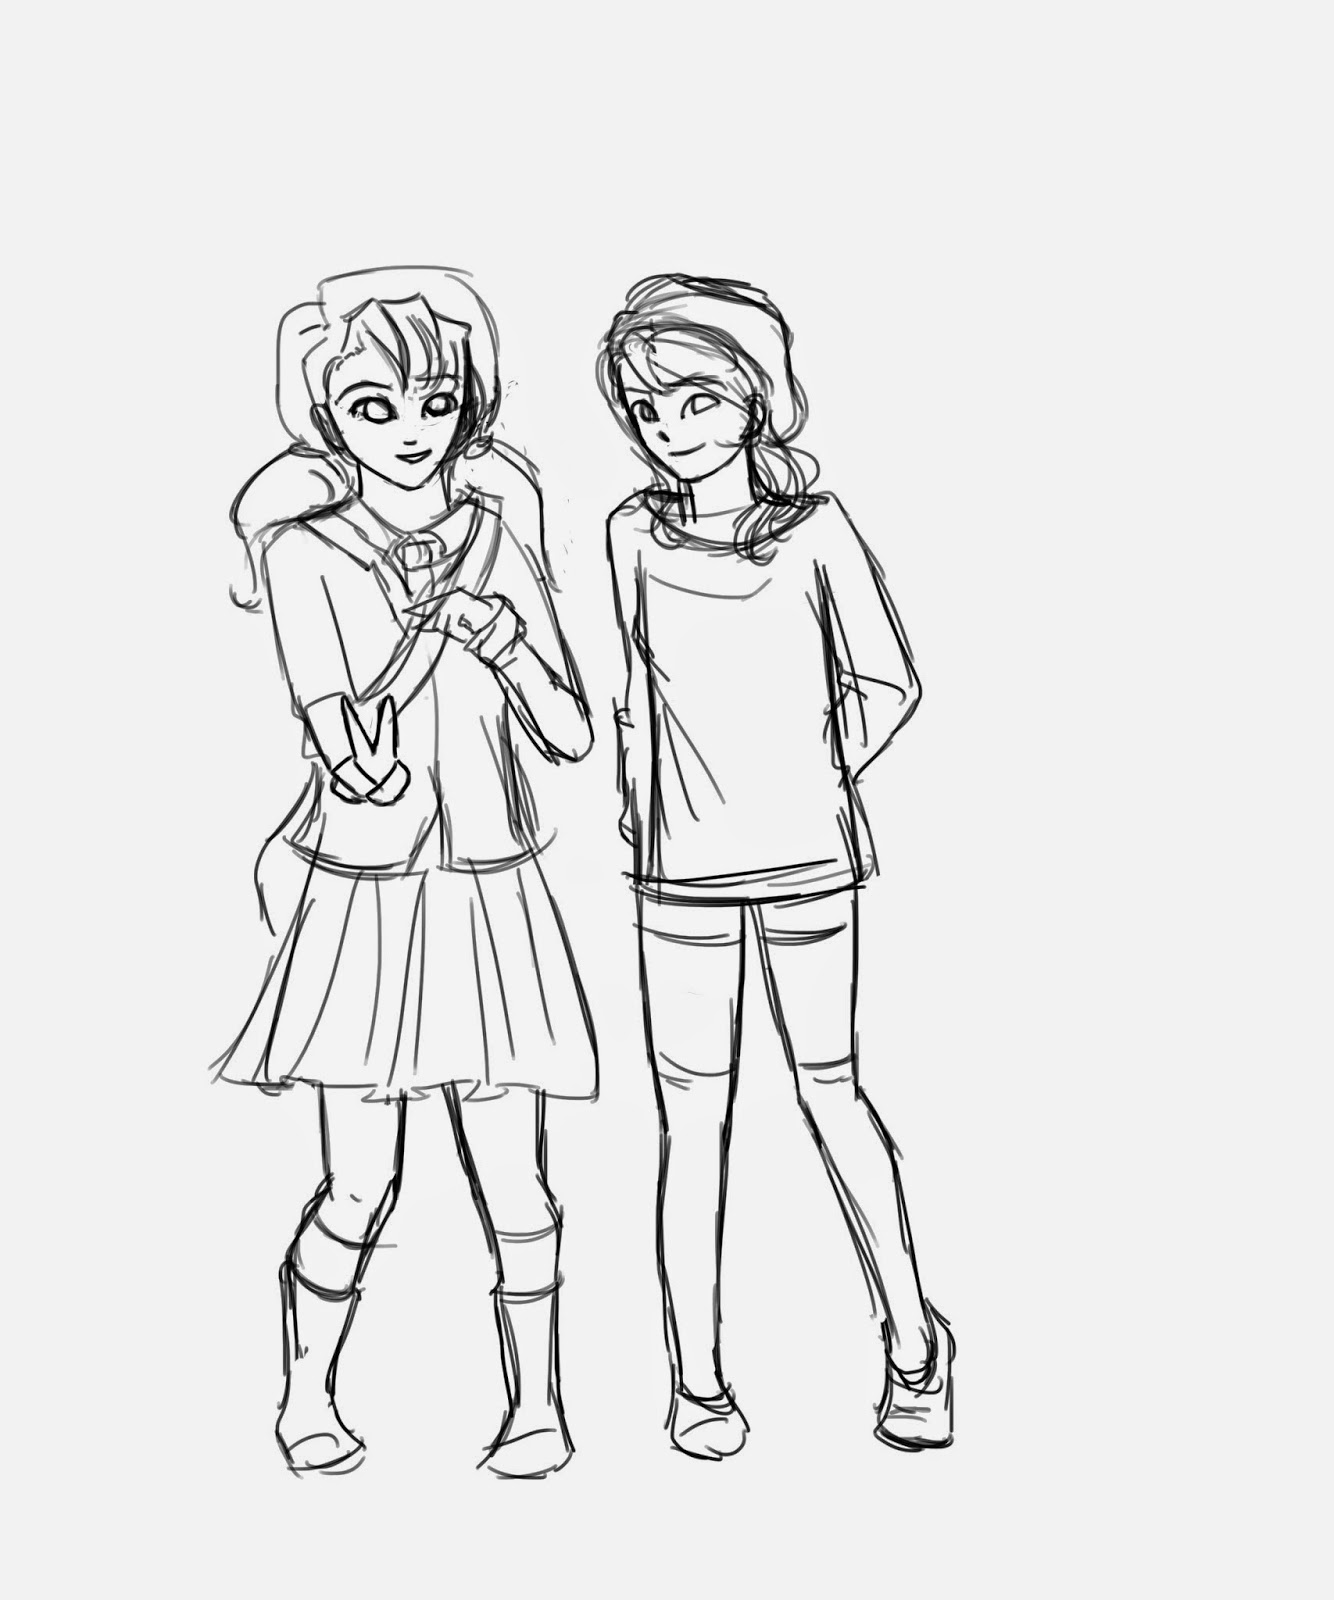 |
Step four: Add clothing, hair, and facial features. This is where your characters' personalities come out--choose clothes and hairstyles that reflect how they act and think.
If you like sketchy outlines, this could be your lineart and you could skip the next step. I prefer cleaner lines, though. |
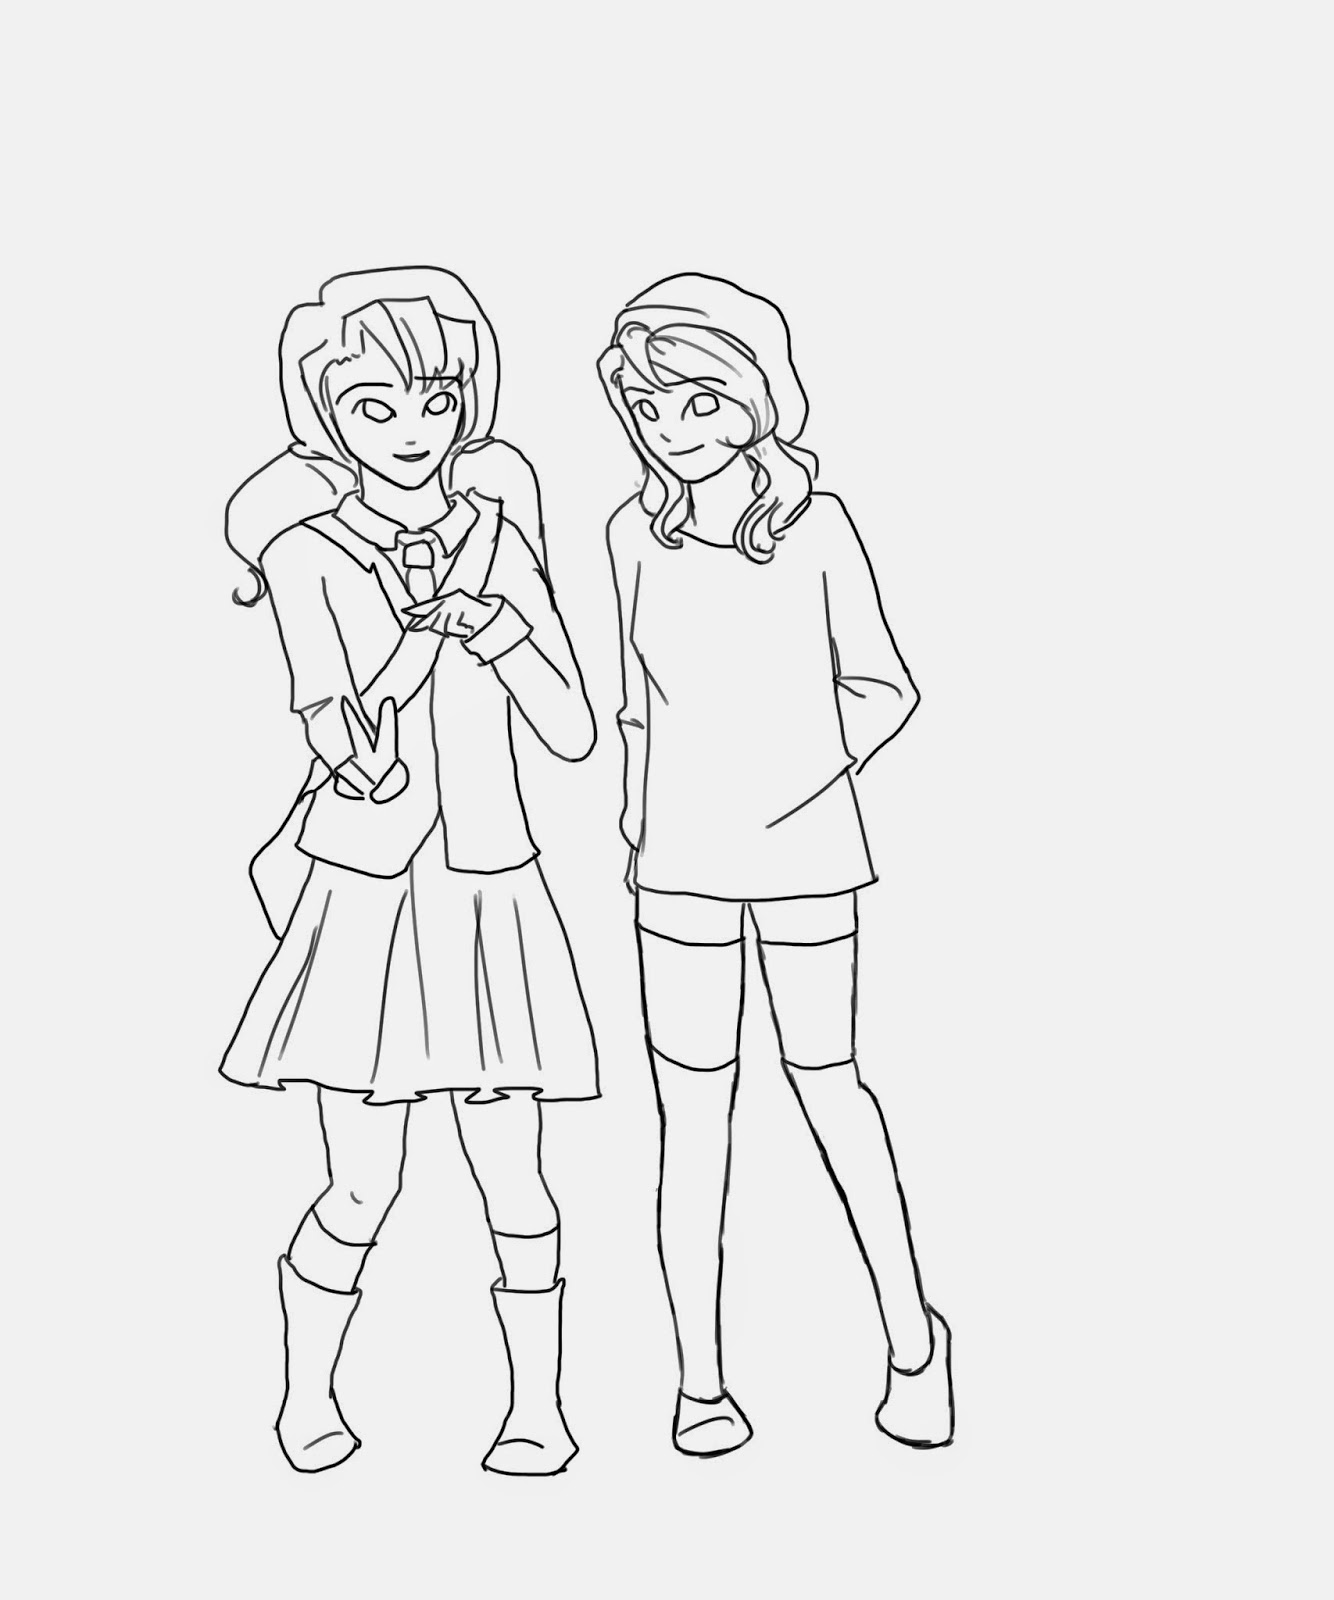 |
| Step five: Ink the sketch. I drew this digitally, so I just made a new layer and went over the whole thing on the top layer. |
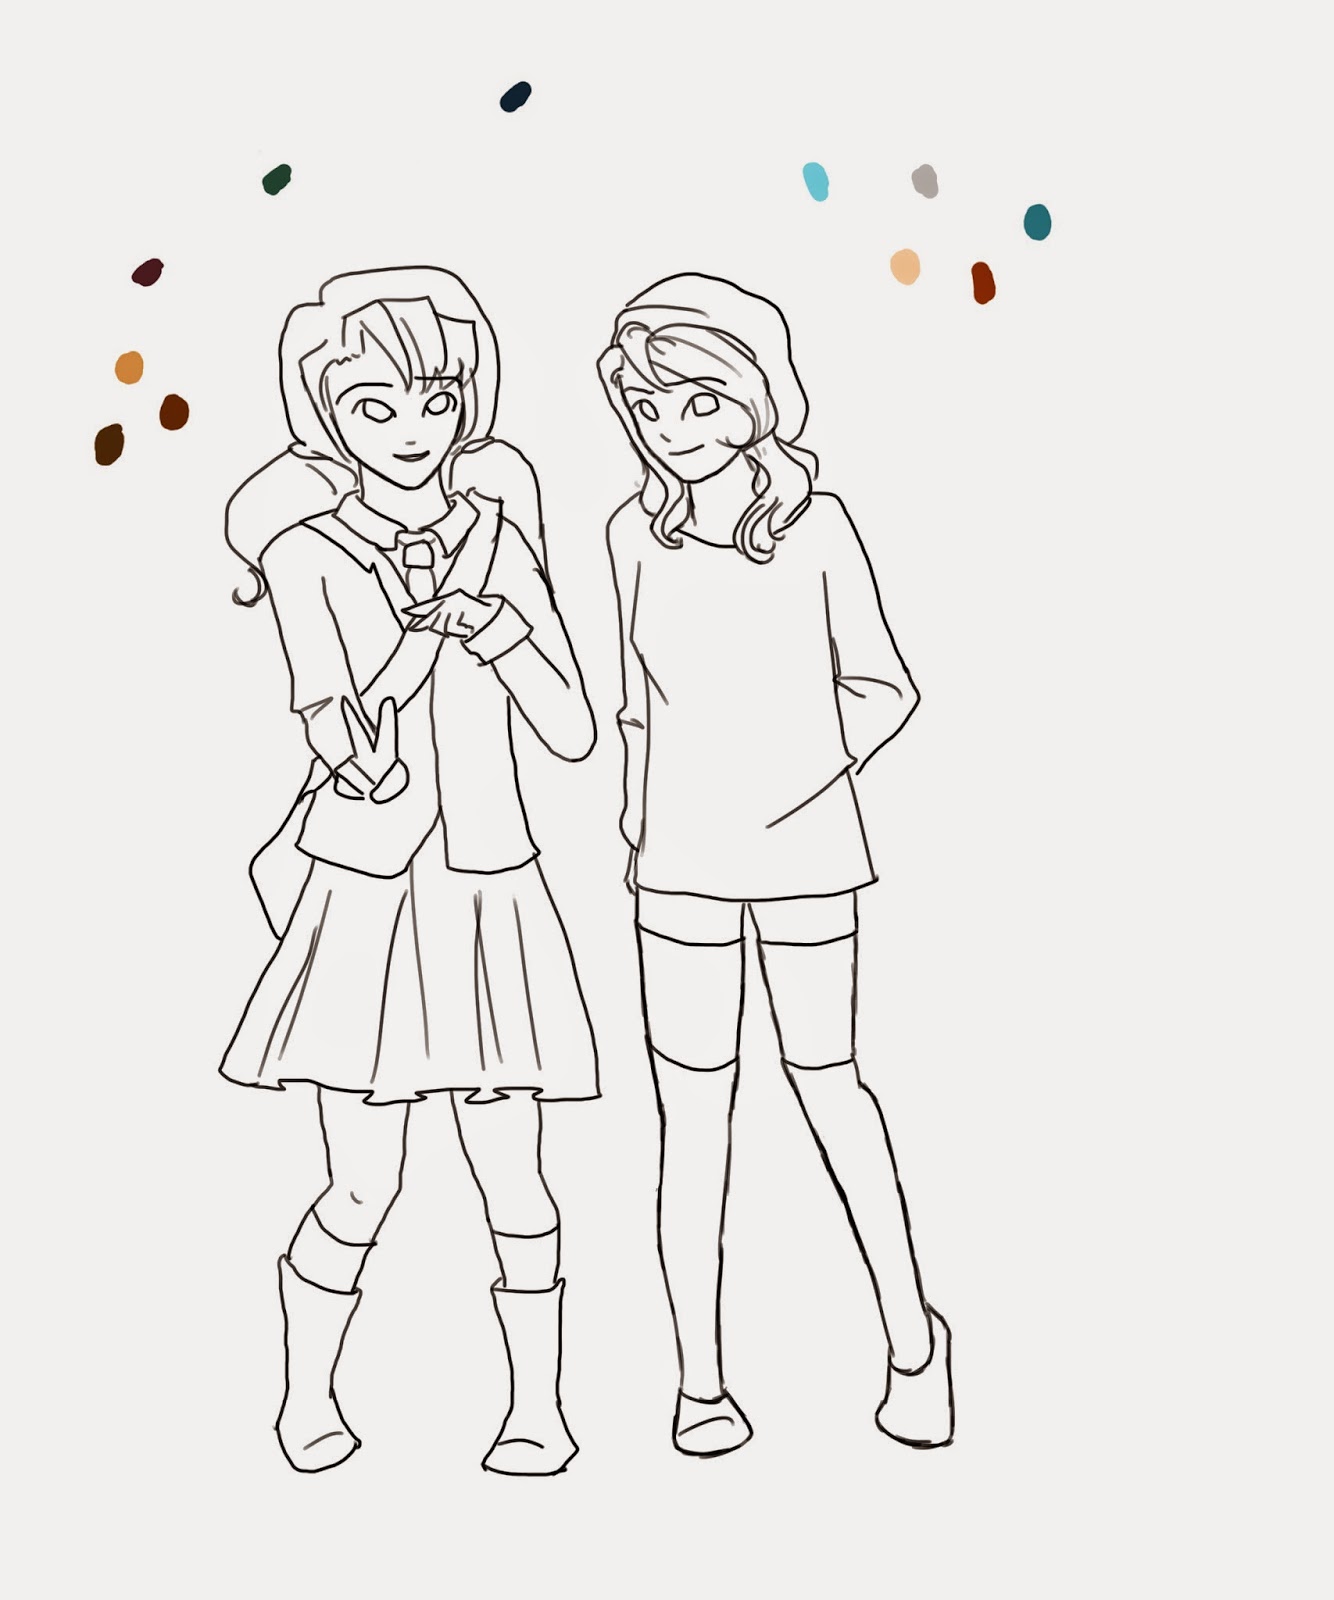 |
| Step six: Pick your colors. I have all of the color swatches on a separate later, so I can just delete that layer and get rid of the spots later on. |
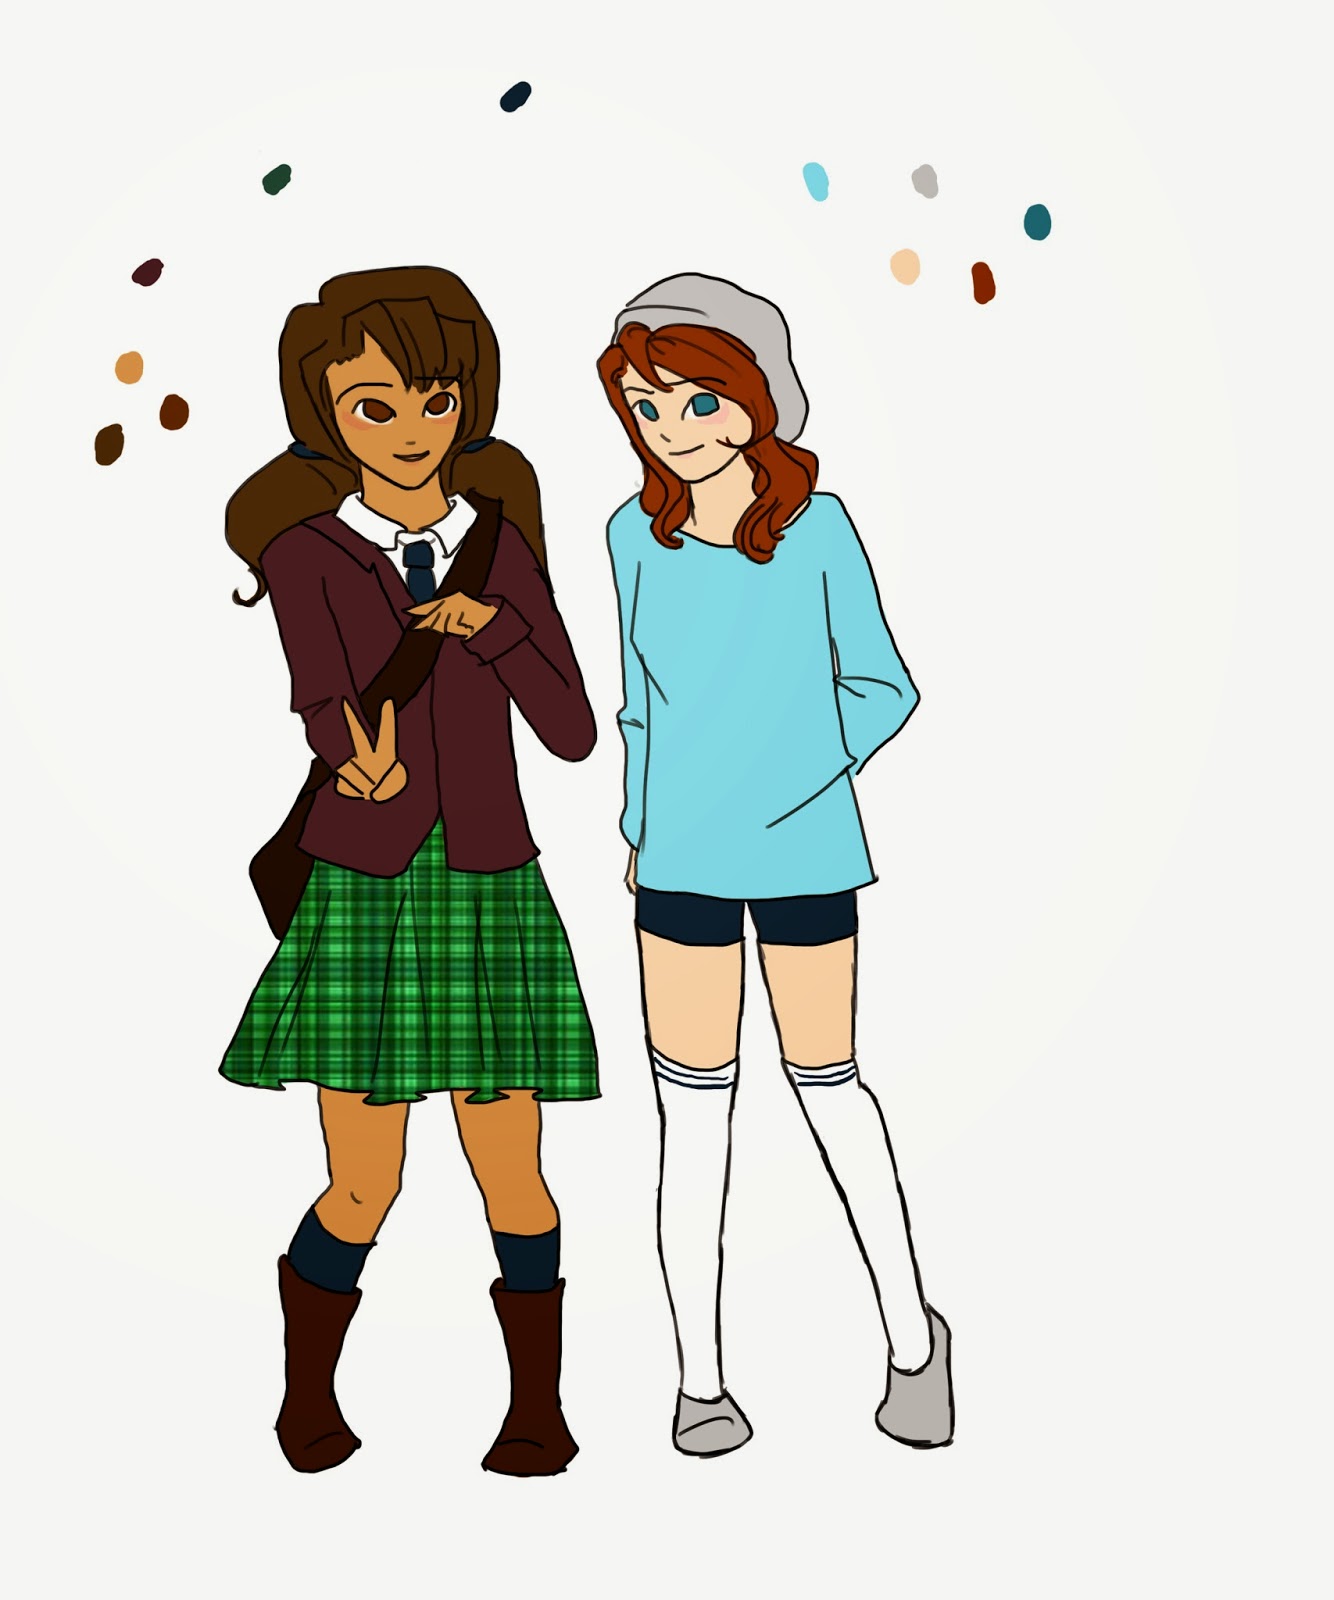 |
| Step seven: Add flat colors. Each of these colors were done on a separate layer, but then I flattened the whole image after it was all colored. If you'd rather shade each individual color, don't flatten it yet and add the shading on the right layer. |
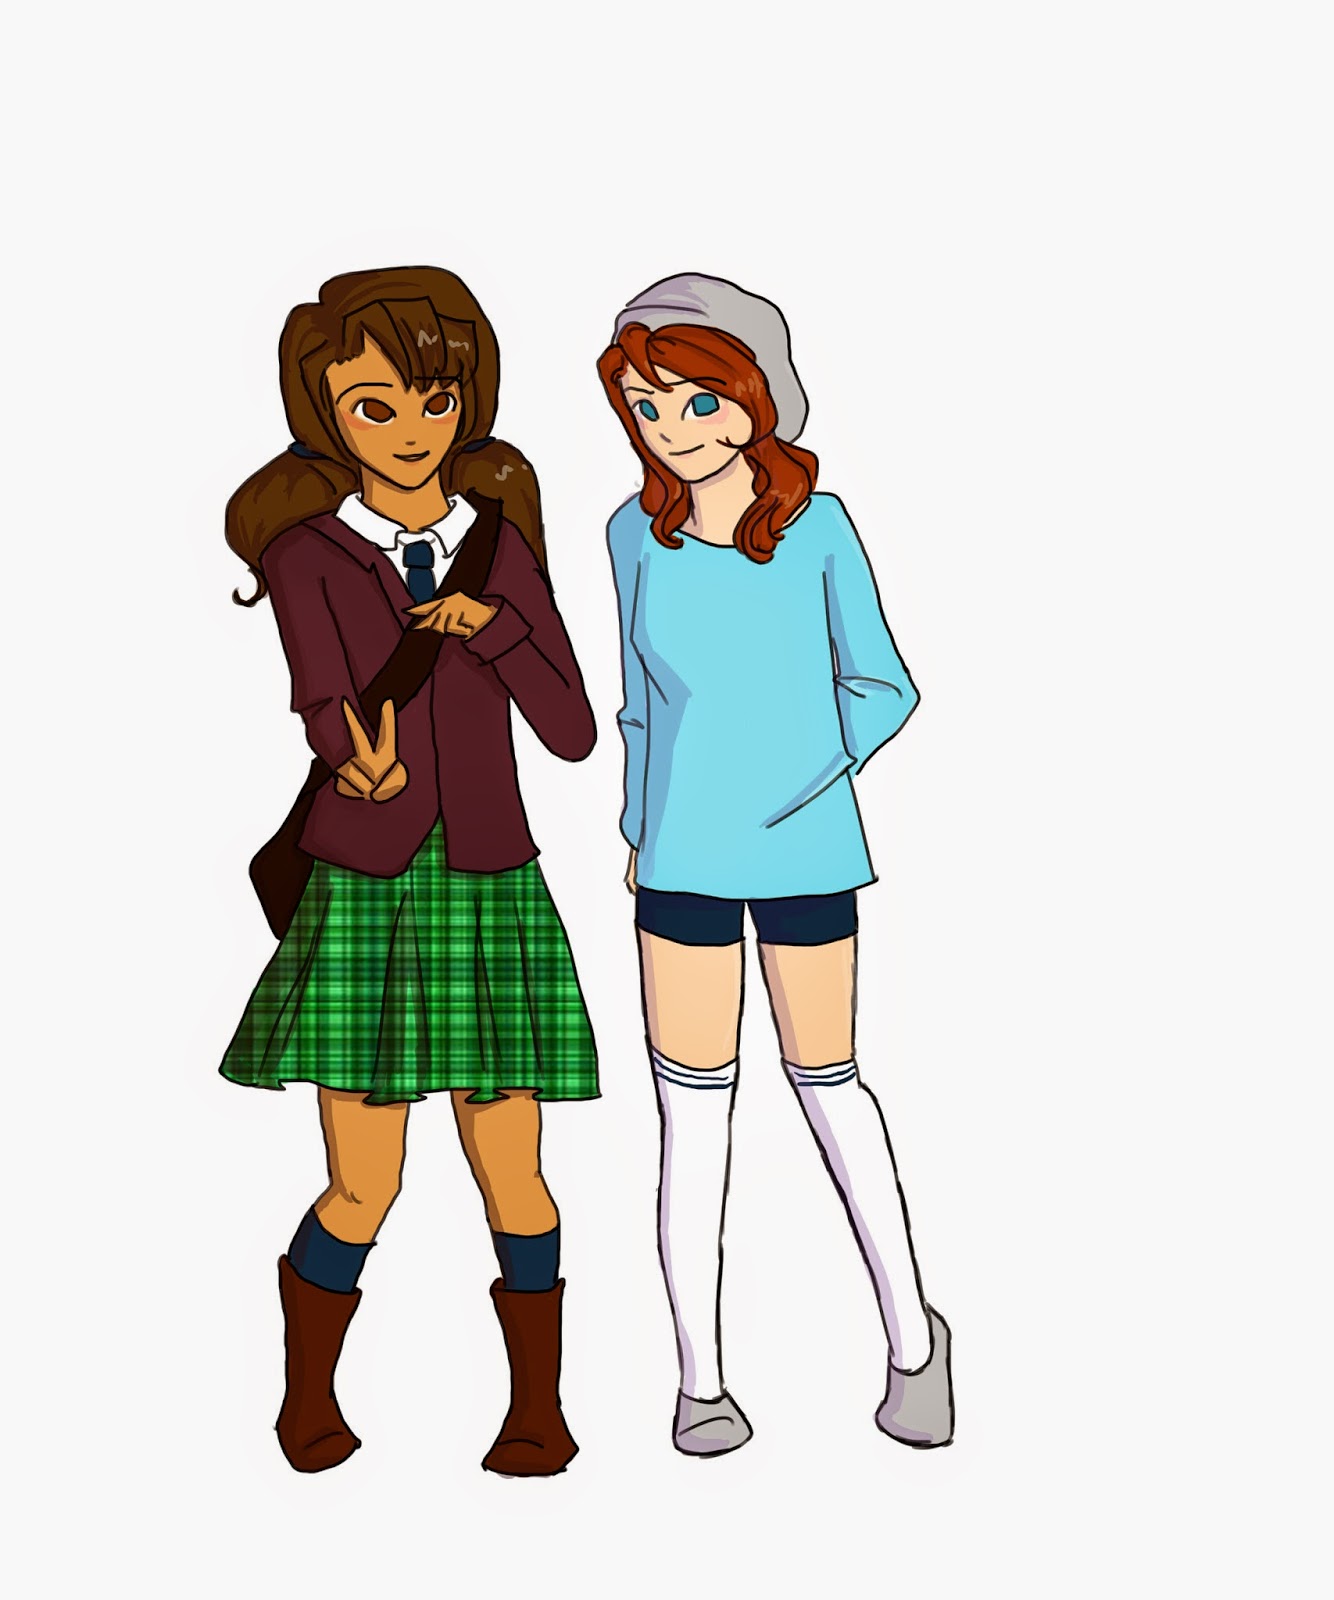 |
Step eight: Add shading. (On a new layer, if you're coloring digitally. Layers are a digital artist's best friend.) I was experimenting with shading styles one this one, so it's a little different than how I usually do things.
I picked a low-saturation purple for the girl on the right, set the layer opacity for about 20%, and went over all of the places that I wanted shadows at with that color. I had to go darker for her shorts, as the lighter purple didn't show up.
For the girl on the left, I used a dark red, because I didn't like how the purple looked on her coat. |
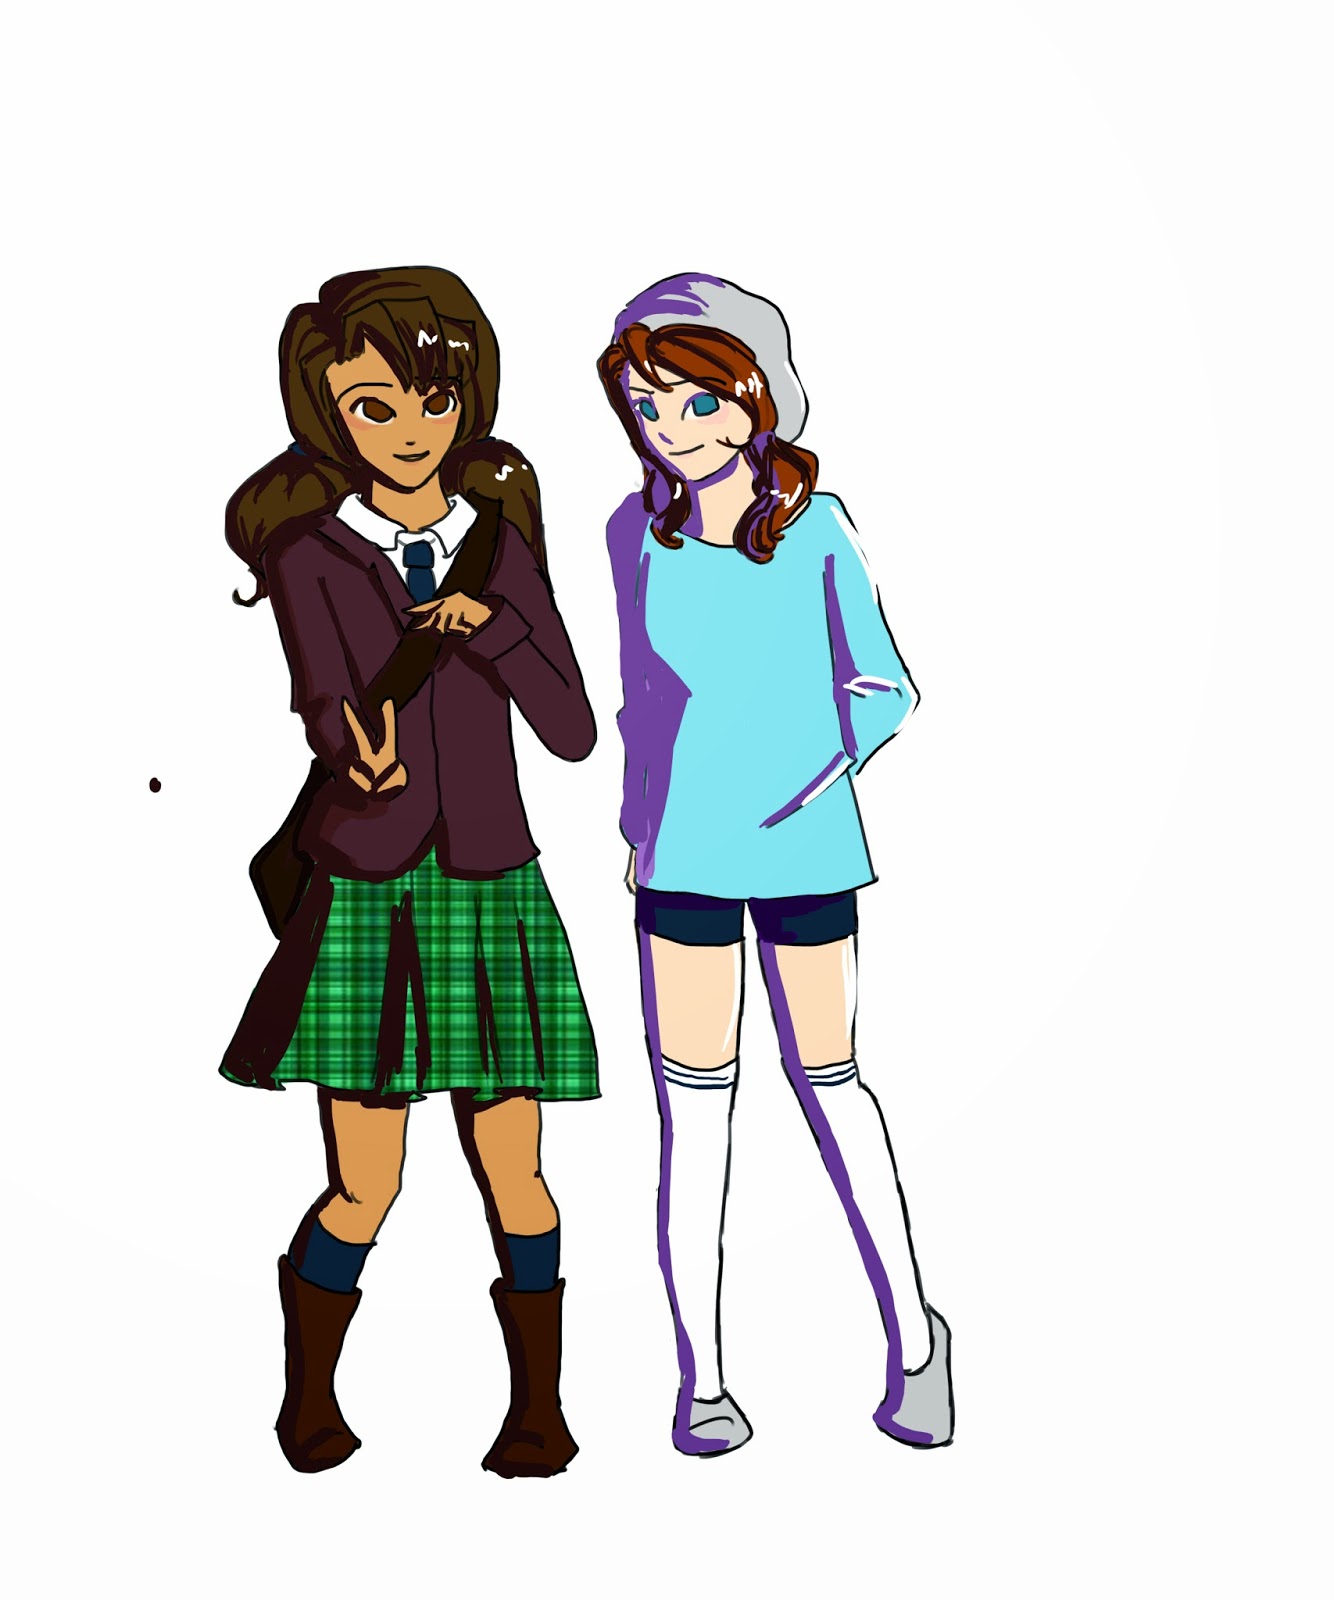 |
| (Being a goofball and setting the shading opacity at 100%. Ain't they pretty.) |
 |
I saved my favorite part for last so I could do an in-depth tutorial on it.
(Just kidding. I forgot to shade the eyes until the end.)
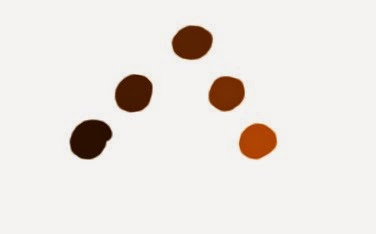
At the top of this lovely triangle is the base color for the eyes. Going down to the left are two progressively darker shades of that color, and on the right are lighter shades. |
 |
| Lay on the shade-darker color first... |
 |
| ...then the darkest color. You should know where your light source is at this point, so add the shadows accordingly. |
 |
| Now put on the shade-lighter color, remembering where your light is coming from... |
 |
| ...and then use just a bit of your lightest color for more emphasis. |
 |
| Blur all of the colors together. (I used the airbrush for this step.) |
 |
Add some highlights, and you're done!
Now, remember. This is just my style of coloring eyes. You'll find a different method of this for every artist out there. Have fun playing with the different styles, and use the one you like best! |
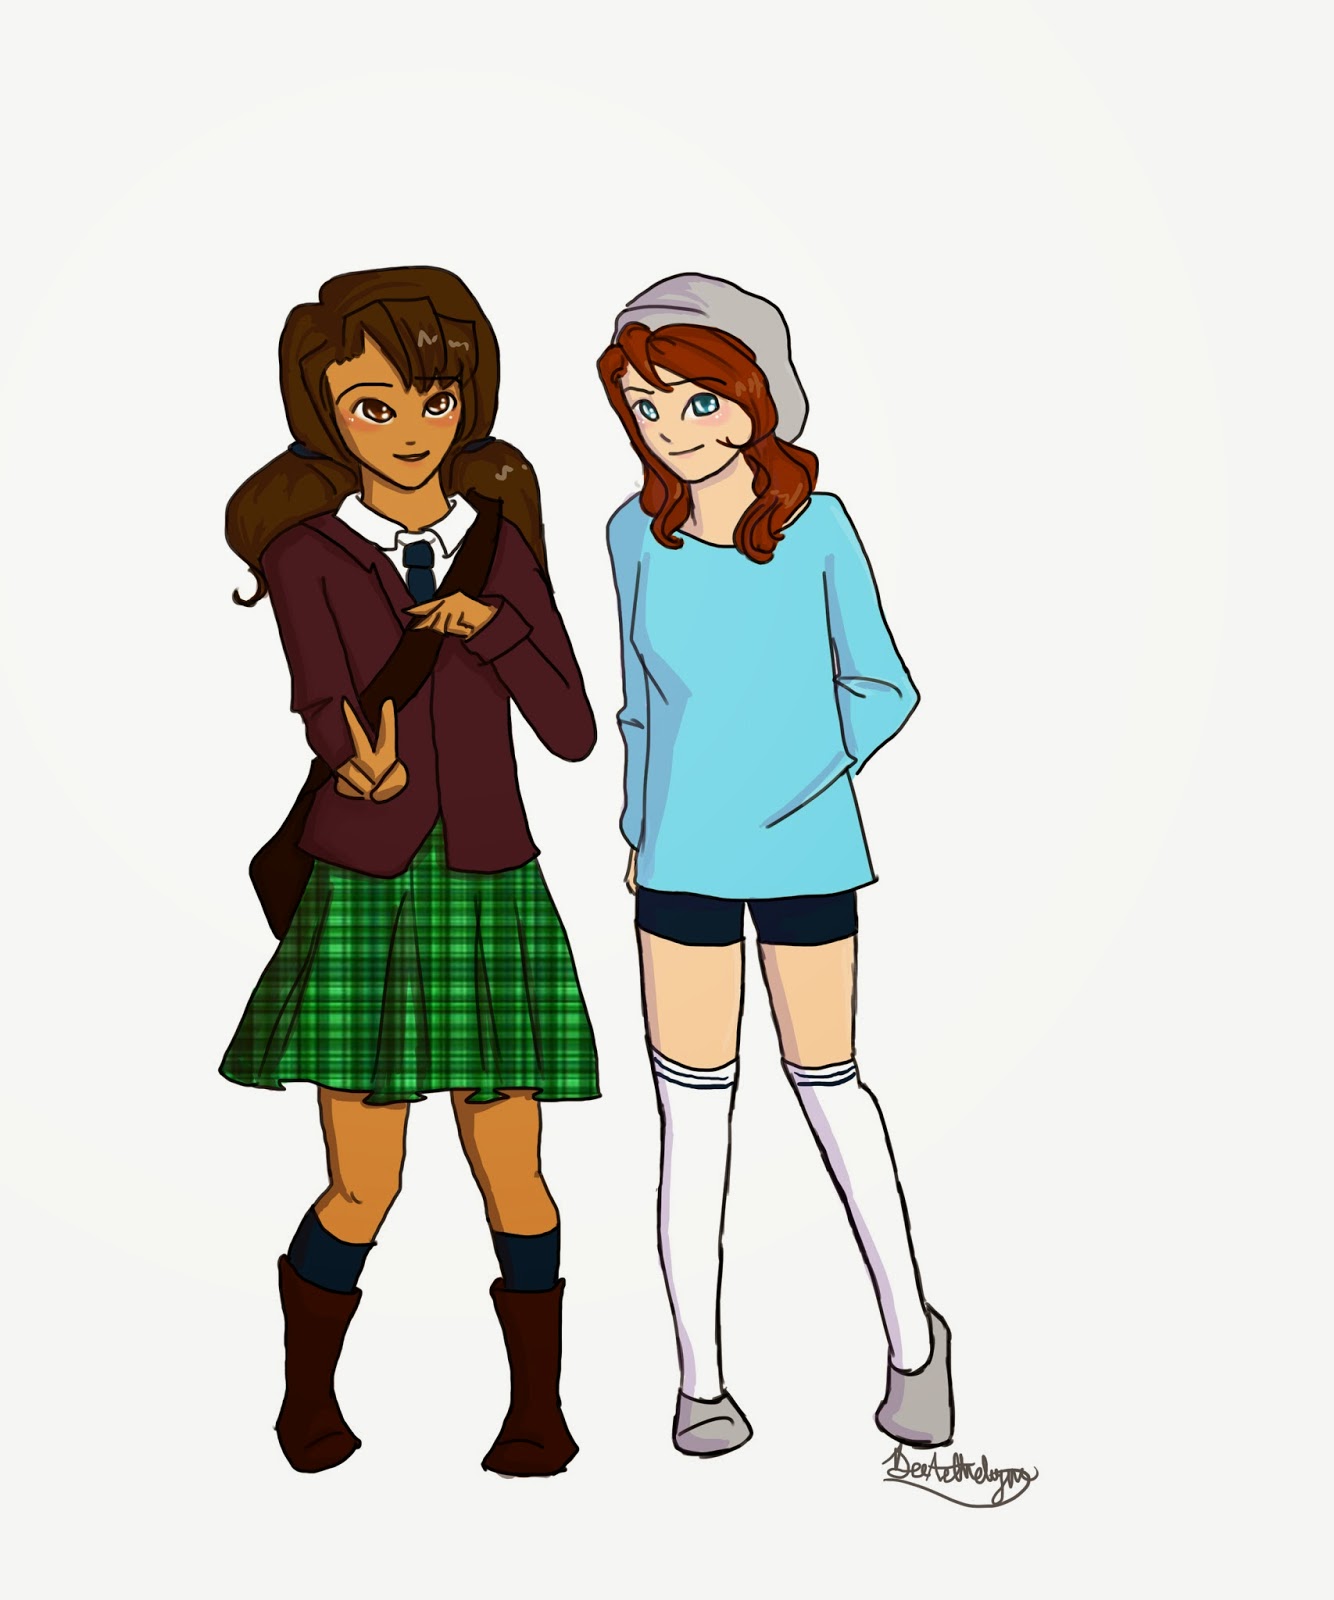 |
| Final step: Touch ups, sign, and you're done! I blurred the blush on their cheeks, because I didn't like how flat it looked, and added some highlights there as well. I also shaded the girl on the left's right boot a little more, as well. |
I need a life.
Nah, actually, I don't. Well, maybe I do. But I don't want one. I'm quite happy to live on my couch for the rest of my life and draw and write these ridiculously long and rambly blog posts. Maybe I'll even start selling commissions someday and pay my parents rent to make up for the loss of their couch.
Okay, speaking of commissions though.
In case you hadn't picked up on it yet, the rain date was enacted. You see, apparently you only get a temporary ID at first, and then your actual one comes in the mail later. And you can't use your temporary to open a bank account. Which means I couldn't open the account last week as I had hoped.
I now have my permanent ID, however, and hope to stop at the bank tomorrow and open the account. Once that's done, I can finally open my Etsy store.
I think I can list things and start setting up the shop before actually opening it, though... I'm going to go see if I can do that and add some commission listings.


This is so awesome!! I'm so bad at full body structure. I should prolly start with a skeletal base like you did.
ReplyDeleteGreat job!! I love reading your posts :D